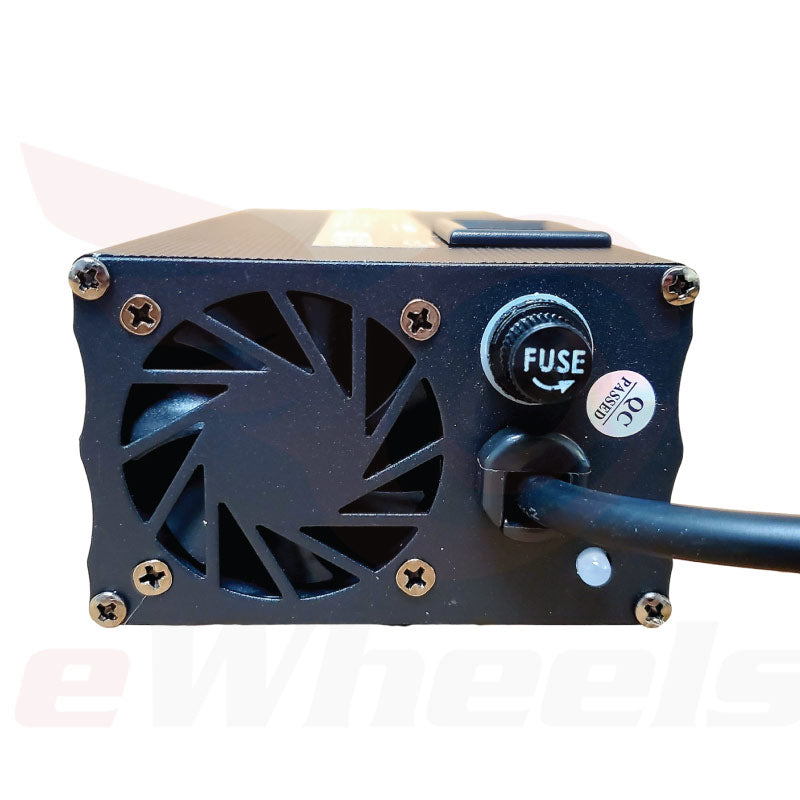
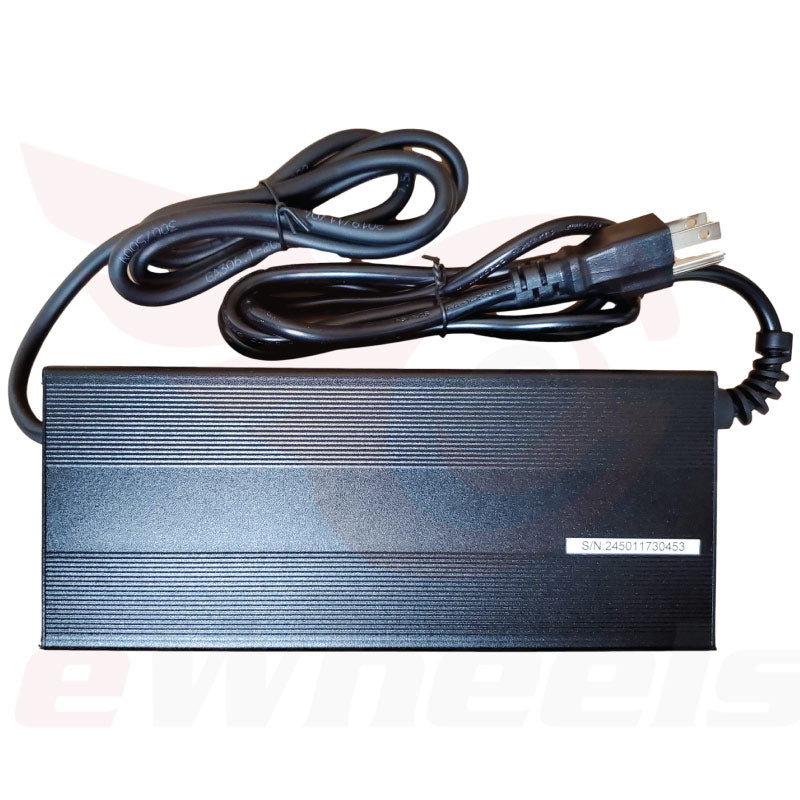
126V/4A Rapid-charger. S22, Patton, Patton-S, V13 (backorder)
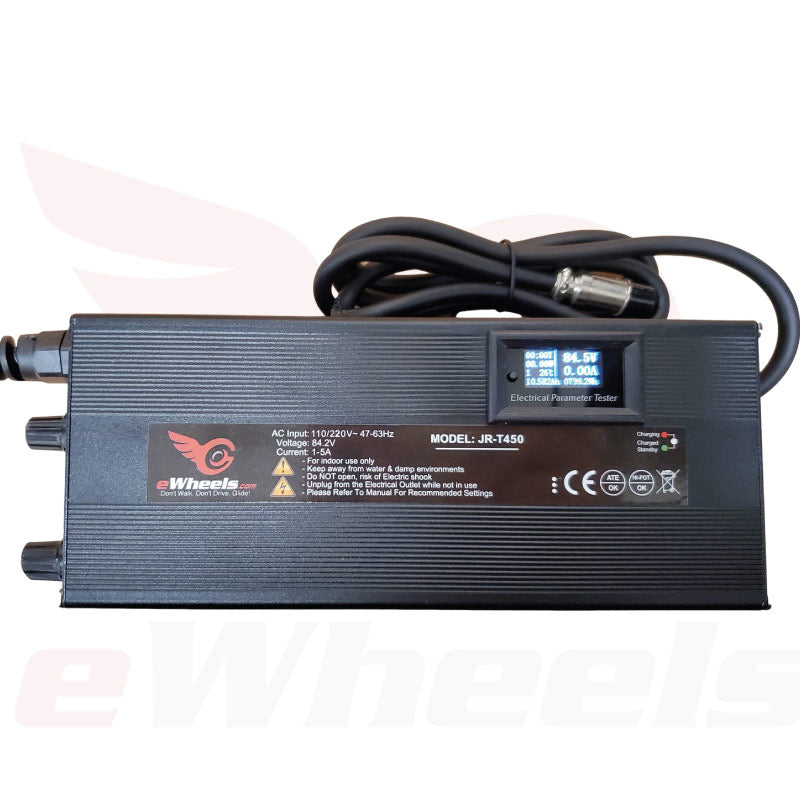
- The 126V/4A charger was created for the S22 & Patton, with the GX16-6 pin connector
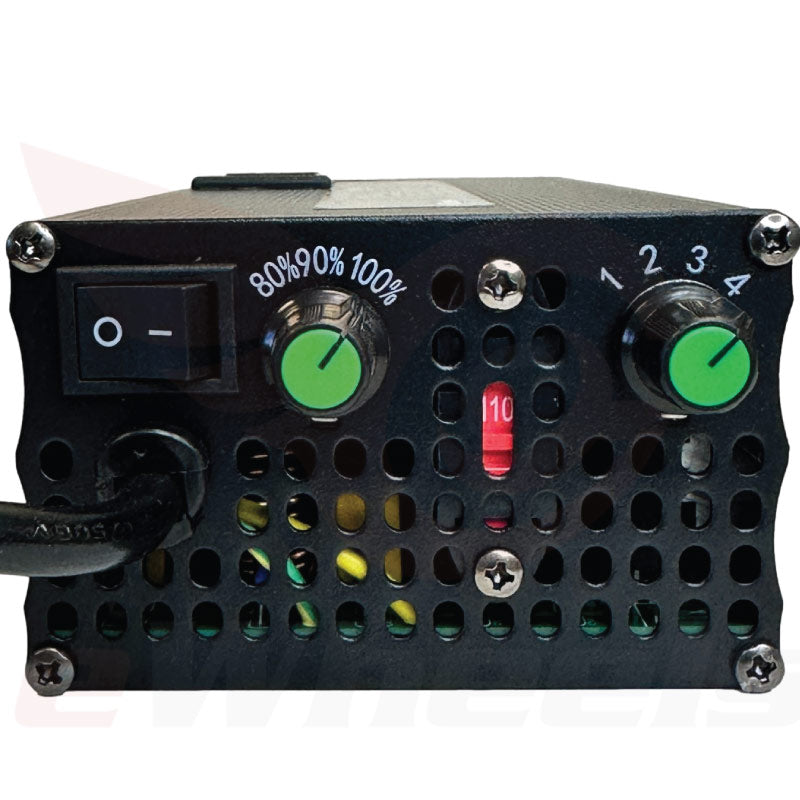
- Equipped with 110/220V input select switch on the side
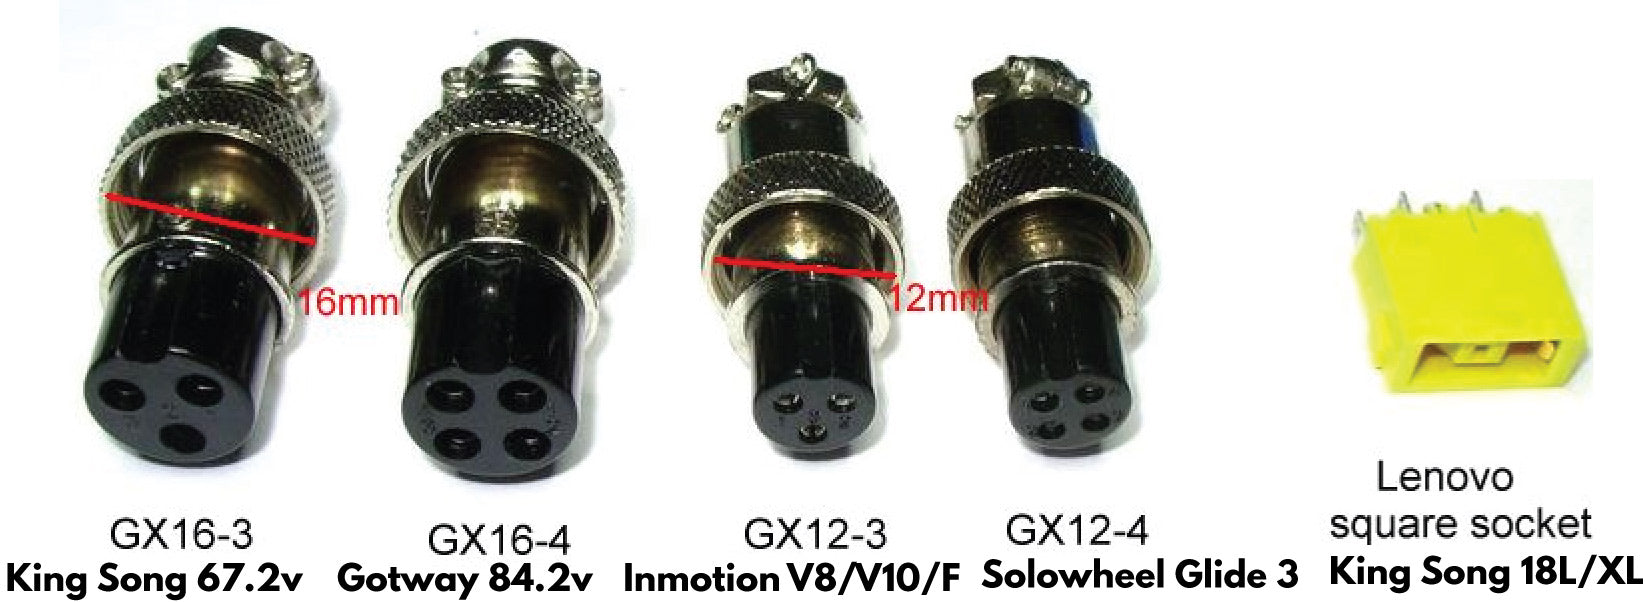
- Please refer to the charger connector picture to determine which charger is appropriate for your device.
- Packaged full of features: LCD display, variable current, battery extending partial charging setting, reset switch

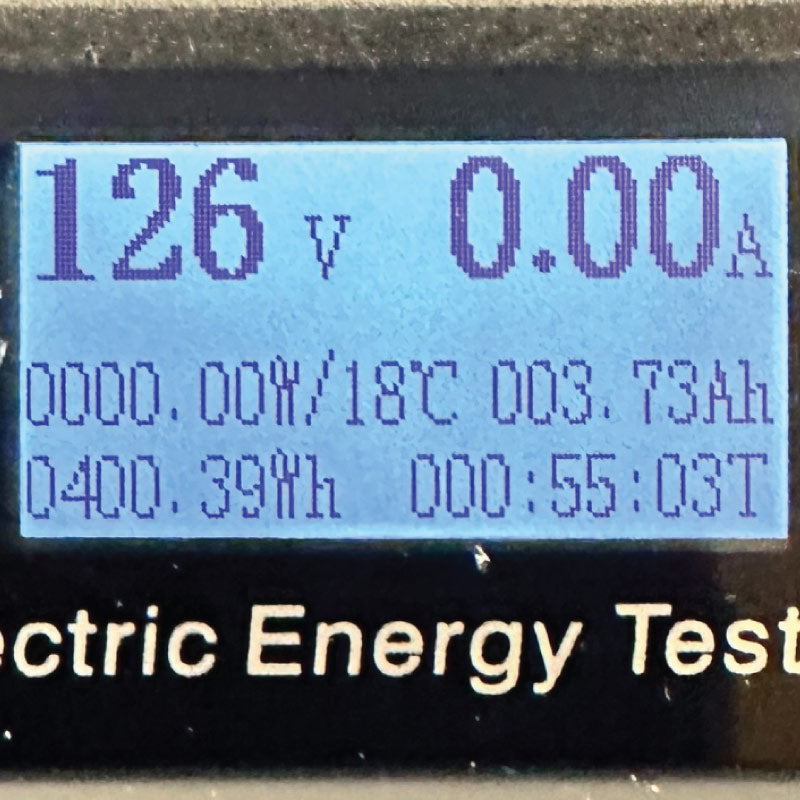
Overview of the Information Display Output
Overview of the Information Display Output
Note: voltage & other stats will vary depending on the model/voltage charger you have, illustration for reference only.
- Charging time: displays the amount of time for the current charging session in hours:minutes format. Either pressing the reset button, or holding the mode button will reset this counter
- Active Power Output: measurement of volts x amps = watt output units in realtime
- Temperature: equipped with a temperature probe positioned on the internal heatsink
- Amp/Hours: the accumulated number of Ah over the charging session
- Charger voltage: a reading of the DC output voltage to the device. When initiating the charge on a depleted battery pack, the voltage will ramp up until it reaches the set end-point voltage.
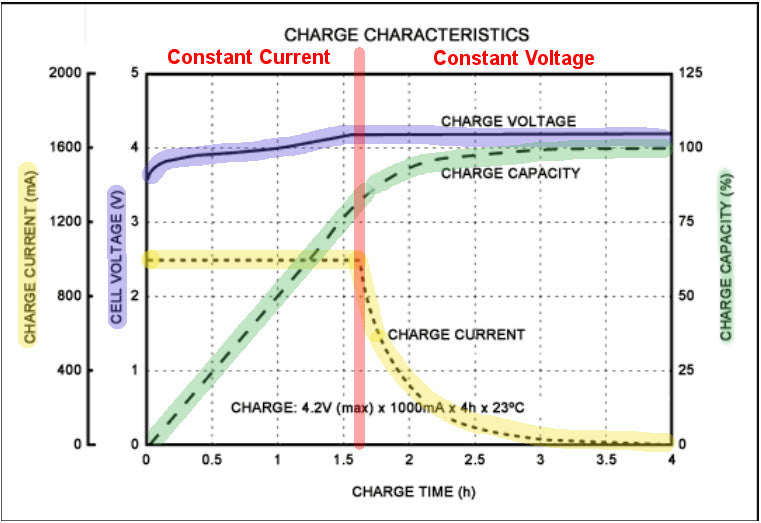
- Current Output: measured in Amps. When the voltage is set the 100%, once the charge level achieves >80%, the current level will start to ramp down into the Continuous Voltage mode.
Note: depending on the device, most manufacturer Battery Management Systems (BMS) have a mechanism to prevent the cells from becoming over-discharged, below 3v/cell (in some cases higher), therefore, you may find that the Wh measurements to be less than the specified pack’s capacity to 100%.
High Power Output: with up to 4 Amps of current, this charger has a maximum DC output of 504Watts, the equivalent of a run-to-charge ratio of 2:1 ratio, assuming cruising at 20mph on level ground.
Extend the Lifespan the Battery Pack by up to 2-3x: if the battery pack is regularly charged to around 4.05v (or 80% nominal capacity) studies show that this will help to preserve the useful lifespan of a lithium-ion battery pack by up to 3x the standard cycle rating. A typical modern cell is rated to last ~70% of the original capacity after around 500-700 discharge/recharge cycles. With a partial charging, this can well exceed 2000 cycles!
Partial Charging is also Safer: battery cells are extremely sensitive to the slightest amount of over-charging voltage beyond 4.2v. Because most Personal Electric Vehicles use regenerative braking for slowing down, on a full battery, it’s possible to exceed the maximum voltage causing premature degradation. Charging to 80-90% provides the battery with a capacity buffer to absorb the surplus energy from braking after a charge.
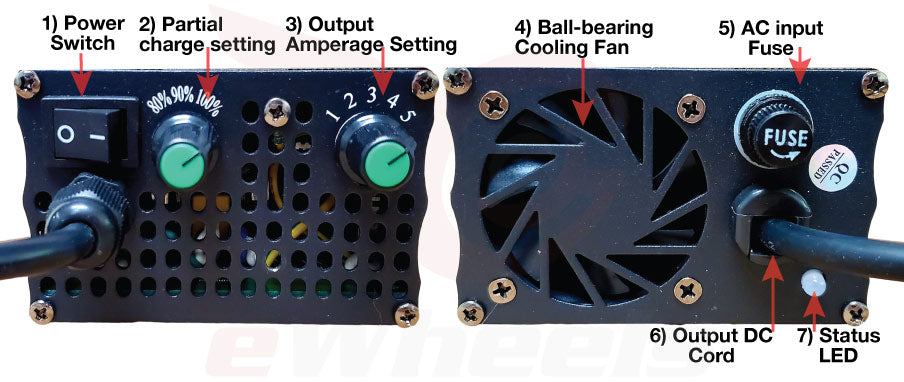
Variable Current: on the side of the charger is a Current selector, where you can set the Amperage power output level.
IMPORTANT!: Do not use this charger on other devices which have the same connectors, if the charge rate is too high for a particular pack, it may severely degrade the longevity of the pack, and can pose a fire risk.
Voltage/Current Display: both the voltage & current are shown on a large LCD display mounted on the top of the charger. This gives you an instant snapshot on the exact progress of the charging status. When the current starts to drop, it is an indication that Constant Current (CC) phase has completed & is now starting the Constant (CV)—this is where the battery is about 80% charged & where the charging cycle starts to ramp down. CC/CV mode is attained only at the 100% voltage selection—on the 80-90% setting, once the set voltage is reached, the charge cycle will terminate.
WARNING: please remember to change the input selector to 220V, if using a car-charging input to the charger!
Reset button: once the selected charge % has been reached, the charger will automatically shut-off but remain in standby mode. When plugging the Wheel back in, simply press the reset/power button, to restart the charge cycle again.
Charger Controls & Operation Guidance
WARNING 1: before plugging the charger into a device, check that the voltage matches the specification of the device that it is intended to be used with. If a higher voltage charger is used on the wrong device, it may result in permanent battery damage, or even potential battery fire!
WARNING 2: this charger is not to be used outdoors, keep away from water & moisture. If the charger has been exposed to water, discard immediately.
WARNING 3: when powering on the charger, if the voltage reading is >0.75v higher than the specified output, DO NOT USE.
WARNING 4: not all vehicles are compatible for higher charging currents. Please check with your manufacturer/distributor before attempting to use the higher rates of charge. As a general rule, the larger the capacity of the battery pack (Wh), the higher potential rate of current it can support.
Step 1: Plug the charger into a 110v outlet, check the output DC voltage is reading the specification output
Step 2: Set the voltage partial-charge & current output to the preferred settings
Step 3: Plug into the device, ensuring the notch position on the connector is aligned with the charging port. The fan will automatically engage & the status LED change from green to red.
Step 4: While the charger is activate, you can monitor the progress charge progress through the voltage, refer to the table of voltage ranges for your device.
Step 5: Once the charge cycle completes, the fan will switch off & the status LED change to green. On the display the current will also read 0A output, with a reading of # of Wh/hrs over the charging session.

